Quickstart guide for Windows
Orthanc is a lightweight, free and open-source DICOM server that is ideal for medical imaging professionals. This guide will help you to quickly set up and run Orthanc on a Microsoft Windows computer.
Step 1: Download Orthanc
Visit the Orthanc Website
Navigate to the Orthanc downloads for Microsoft Windows Web site.
Download the Windows Installer
Identify your OS version 64 or 32 bits (note: very likely 64 bits) and download the latest version of the Orthanc installer (
.exefile).
Step 2: Install Orthanc
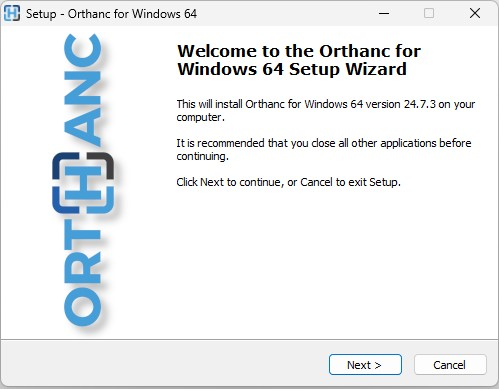
Run the Installer
Locate the downloaded installer file on your computer. Double-click on it to start the installation process. Note that the installer is not signed and that you might have to click on
More infoandRun anyway:

Follow the Installation Wizard
Accept the license agreement.
Choose the installation directory (default value
C:\Program Files\Orthanc Serveris usually fine).Select the folder in which Orthanc will store its data (default value
C:\Orthancis usually fine).Select the plugins to install. Although you might not need all of them, they are all selected by default and this is fine: Plugins that are not explicitly enabled do not consume any resources.
Complete the installation by following the prompts.
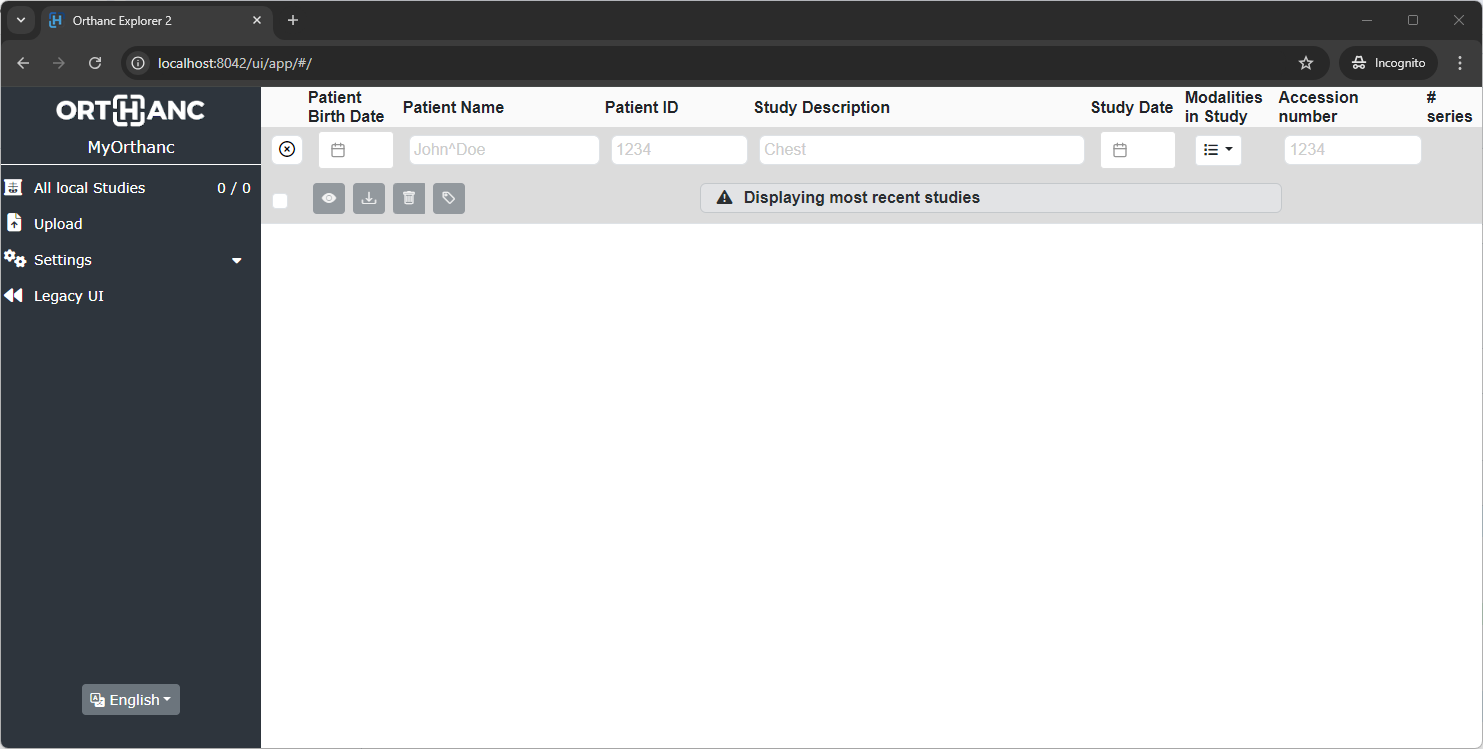
Step 3: Orthanc is running!
At this stage, Orthanc is running as a Windows Service, which means that it will automatically start whenever your computer starts.
The Orthanc Explorer 2 interface is accessible at http://localhost:8042/ui/app/ (default username/password is orthanc). As Orthanc has not received any DICOM file yet, its content is currently empty:
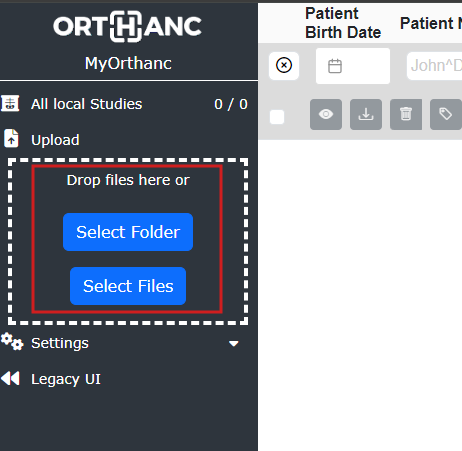
Step 4: Upload and view your first DICOM images!
The easiest way to feed Orthanc with DICOM images is through the Upload menu of the Orthanc Explorer 2 interface:
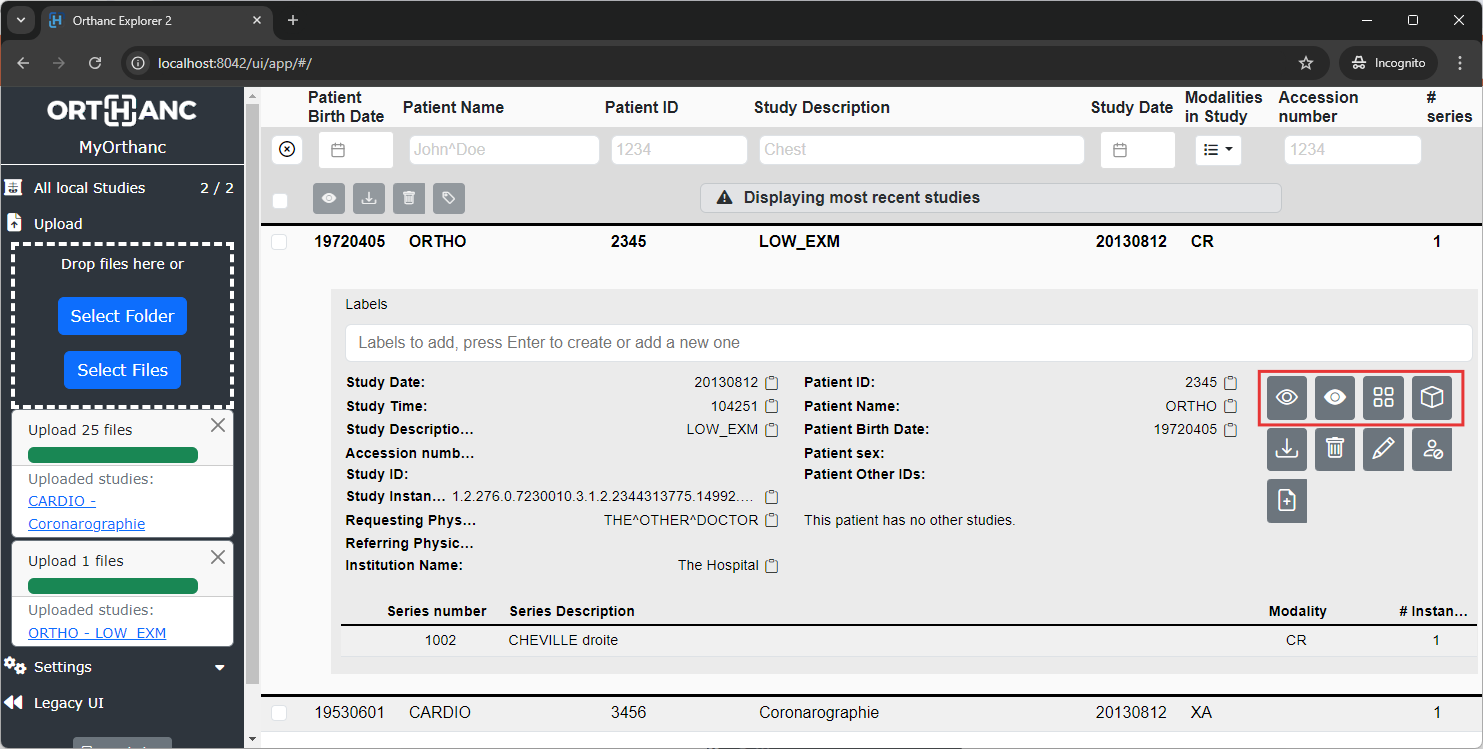
Once uploaded, your DICOM images will appear in the list of studies. You will be able to browse them and visualize them with one of the pre-installed viewers. Remember that we have installed all plugins? Therefore, you have the choice between 4 viewers:
The Stone Web viewer,
The OHIF viewer,
Each of these viewers can easily be launched by clicking on the buttons highlighted in red:
Step 5: Configure Orthanc
Orthanc is configured using a JSON configuration file. The Windows installers come with a default configuration file that is suitable for quick testing. However, at some point, you will probably want to customize the settings.
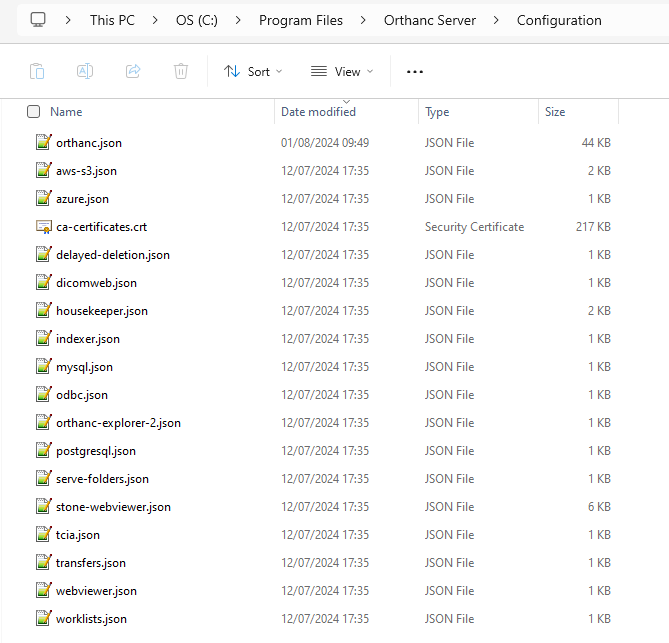
Locate the Configuration Files
The Windows configuration is split into multiple configuration files (one main configuration file, plus one for each plugin). These files are typically stored in
C:\Program Files\Orthanc\Configuration\.orthanc.jsonis the main configuration file. Its complete documentation is available here. In addition, each plugin has its own configuration file that is described in the documentation of the plugin.
Edit the Configuration File
To edit a configuration file, you must start your editor with
Run as administrator. We recommend to edit your configuration file using an editor such as Notepad++. It will warn you that this file can only be edited by an administrator and suggest that you restart Notepad++ as an administrator so that you will be able to save it.Some important configuration options are for instance:
HTTP Server Port:
"HttpPort": 8042(default is 8042)DICOM Server Port:
"DicomPort": 4242(default is 4242)Database Storage Path:
"StorageDirectory": "OrthancStorage"
Save your changes.
Remark 1: When specifying paths under Microsoft Windows, backslashes (i.e.
\) should be either escaped by doubling them (as in\\), or replaced by forward slashes (as in/).Remark 2: In JSON, every
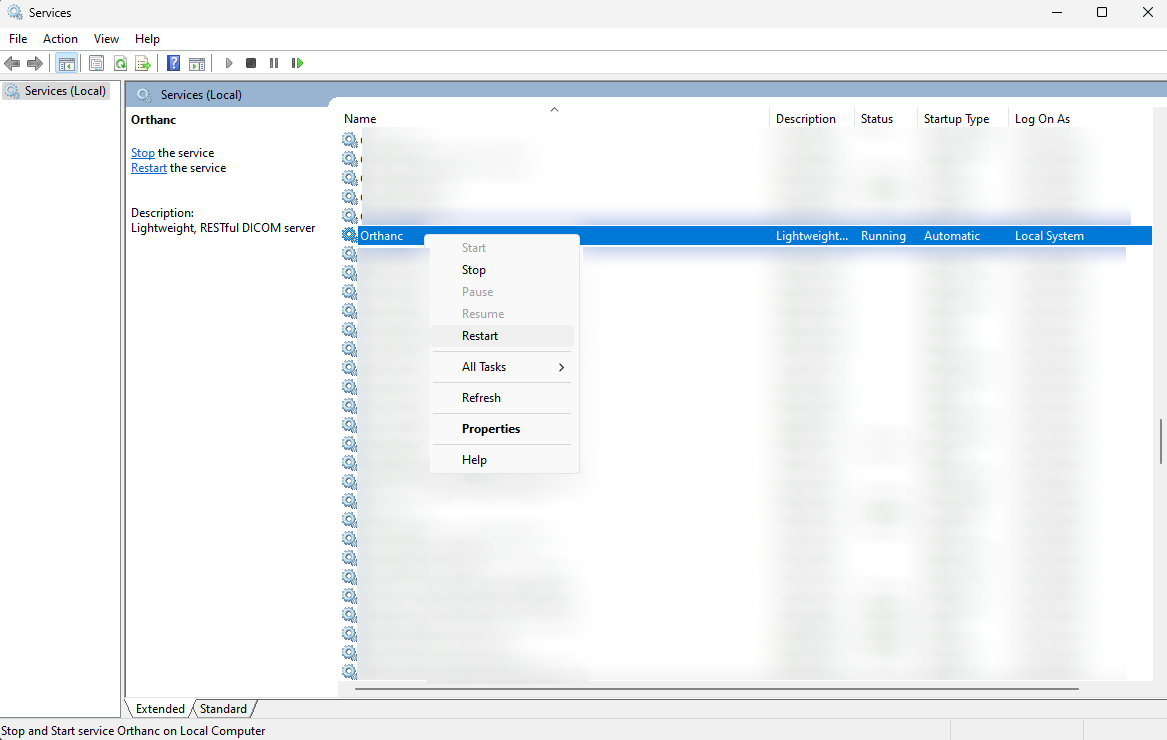
{}and every,counts! Orthanc will refuse to start if the file is not in a valid JSON format. There are numerous online JSON validators to validate your JSON.Restart Orthanc service
To take the changes to the configuration files into account, Orthanc must be restarted. This is done through the
servicespanel of Microsoft Windows (type theWindowskey and search forservices). Locate the Orthanc service, right click, and selectRestart:
Check Orthanc is Running Correctly
Open the user interface at http://localhost:8042/ui/app/ to validate that Orthanc is still running correctly after your changes. If not, you should check the Orthanc logs in the
C:\Program Files\Orthanc Server\Logs\folder.
Next steps
Now that you know how to configure Orthanc, here are a few suggested sections to continue your exploration:
Connect a DICOMweb client such as Osirix
Learn to use the Orthanc REST API
Start to customize Orthanc through Lua scripting
Extend Orthanc using a Python plugin
And learn much more by reading the whole Orthanc book